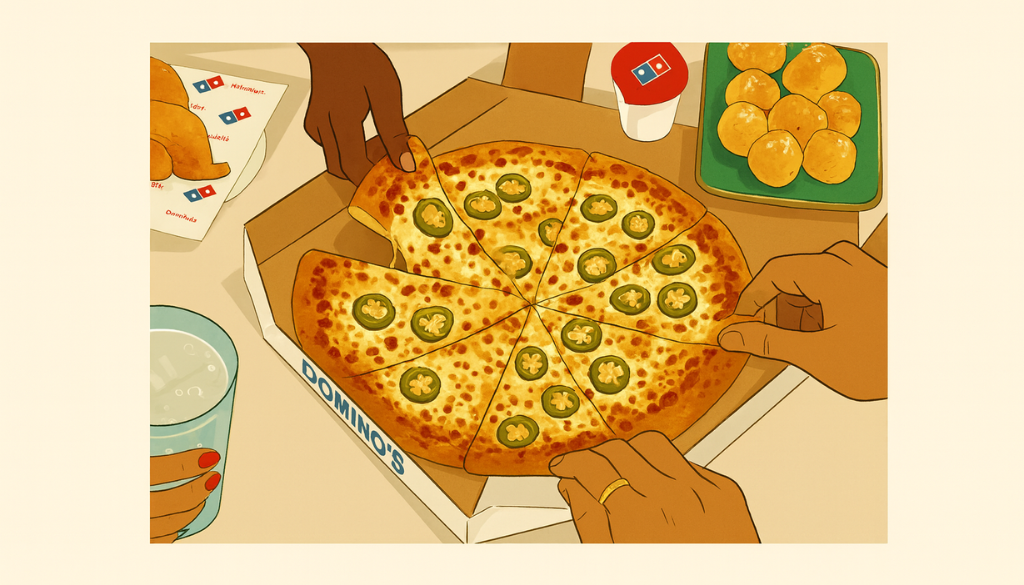
One of the most popular pizza varieties in the world is hand-tossed pizza, yet shockingly few home cooks really know what makes it unique. Be it a novice baker or an experienced culinary enthusiast seeking to improve your pizza skills, learning to make hand-tossed pizza can revolutionize your home-cooked meals. The method produces a crust that is light but savory, airy but structured, and soft but slightly crisp—all the qualities that pizza should have. This comprehensive guide will teach you the definition of hand-tossed pizza, how it varies from other types, how to prepare it at home, and professional advice that guarantees reliable results. This article covers everything you need to master the art of hand-tossed pizza, from oven temperatures to dough science.
Hand Tossed Pizza: What Is It? Understanding the Traditional Method
Hand-tossed pizza is made by stretching and shaping dough entirely by hand instead of pressing it into a pan. Traditionally, the dough is tossed into the air to promote uniform shape and a light, airy texture. This gentle stretching allows gluten strands to lengthen naturally, creating a crust that is:
- Thin in the center
- Slightly thicker at the edges
- Light, chewy, and airy
- Crisp on the bottom
This method comes from Italy’s traditional pizza-making roots, long before commercial pans and factory-made tools existed.
The Importance of Tossing
Tossing the dough helps remove excess flour, uses gravity for natural stretching, and keeps the air pockets intact. This results in:
- A more open crumb
- A better rounded shape
- An evenly baked crust
- Enhanced texture and rise
Rolling or mechanical stretching compresses air bubbles, making the crust denser, but hand-tossing preserves them beautifully.
Main Differences Between Hand-Tossed and Pan Pizza
Hand-tossed pizza is often compared to pan pizza, and understanding the differences helps explain why both have distinct textures and flavors.
How the Dough Is Prepared
Hand-tossed pizza:
Dough is stretched by hand with minimal oil, remaining light and airy.
Pan pizza:
Dough is pressed into an oiled pan and allowed to rise again, producing a thicker, almost fried crust.
Texture of the Crust
- Hand-tossed: Thin-to-medium, slightly crisp, soft, and chewy.
- Pan: Thick, fluffy, and crunchy from the oil.
Baking Method
- Hand-tossed: Baked quickly on a stone, steel, or oven rack.
- Pan: Baked longer in an oiled pan at a moderately high temperature.
Flavor Profile
- Hand-tossed: Mild, bready, lightly fermented flavor.
- Pan: Rich, buttery, slightly greasy due to oil contact.
Both taste amazing, but hand-tossed pizza is the classic Italian style most people think of when they imagine traditional pizza.
Ingredients Needed for Making Hand-Tossed Pizza Dough
Great pizza starts with great dough. While recipes vary, the core ingredients remain consistent.
Essential Ingredients
- High-protein flour (11–13% protein) for structure
- Lukewarm water to activate yeast
- Active dry or instant yeast
- Salt for flavor and gluten strength
- Sugar (optional) to feed yeast
- Olive oil for flexibility and flavor
Dough Hydration
Proper hydration is crucial.
A typical hand-tossed dough uses 58–65% hydration, meaning 58–65 g water per 100 g flour.
Higher hydration improves softness and airiness.
Step-by-Step Guide to Making Hand-Tossed Pizza at Home
This hands-on guide takes you from dough making to stretching and baking.
Step 1: Mix and Knead the Dough
Combine:
- 500g flour
- 300–320 ml water
- 1 tsp yeast
- 1–2 tsp sugar
- ½ tsp salt
- 1 tbsp olive oil
Mix until shaggy and knead for 7–10 minutes until smooth and elastic.
A properly kneaded dough springs back when gently pressed.
Step 2: First Rise (Bulk Fermentation)
Place the dough in a lightly oiled bowl and let it rise for 1–2 hours at room temperature.
Pro tip:
Refrigerating for 12–24 hours enhances flavor through slow fermentation.
Step 3: Divide and Shape Dough Balls
Divide into 2–3 dough balls.
Tuck and smooth each ball to create tension.
Allow them to rest for 15–20 minutes.
Step 4: Hand-Stretch and Toss the Dough
- Place dough on a floured surface
- Flatten the center with fingertips
- Lift onto knuckles
- Rotate and let gravity stretch
- Toss lightly if comfortable
Troubleshooting:
- If it tears → dough is cold or under-kneaded
- If it snaps back → gluten is tight, let it rest
Step 5: Add Sauce and Toppings
Apply sauce lightly—hand-tossed pizza needs balance, not heaviness.
Add cheese and toppings sparingly for the best texture.
Step 6: Bake at High Heat
Bake for 7–12 minutes at 250–300°C (475–550°F).
- A pizza stone or steel gives the crispiest bottom
- Trays work but result in a slightly softer texture
Pizza is ready when the crust is golden and the cheese is bubbling with light char.
Why Hand-Tossed Pizza Crust Is So Special
Light, Airy Texture
Tossing preserves natural air pockets for a fluffier bite.
Slightly Crisp Exterior
High heat and hand-stretching create a delicate crunch.
Soft, Chewy Bite
Balanced gluten development gives it the perfect chew.
Natural Fermentation Flavor
Slow rises produce deeper, richer flavors.
Best Toppings for Hand-Tossed Pizza
Since the crust is lighter, toppings must be balanced.
Classic Combinations
- Margherita: basil, mozzarella, olive oil
- Pepperoni with light cheese
- Veggie supreme with thin veggies
- Four cheese blend
Modern Toppings
- Chicken tikka with onions
- Pesto with cherry tomatoes
- BBQ chicken
- Ricotta and spinach
Less is more—too many toppings ruin the texture.
Common Mistakes to Avoid
Mistake 1: Overworking the Dough
Too much kneading tightens gluten.
Mistake 2: Using Cold Dough
Cold dough tears easily and won’t stretch.
Mistake 3: Overloading Toppings
Too much cheese or sauce makes the crust soggy.
Mistake 4: Baking at Low Heat
Leads to pale, dense crust.
Mistake 5: Rolling the Dough with a Pin
Destroys air pockets and ruins the classic texture.
Pro Tips for Better Hand-Tossed Pizza
- Use a preheated stone or steel
- Choose high-protein flour
- Ferment overnight for flavor
- Dust with semolina for crunch
- Let dough relax during stretching
- Rotate pizza during baking
Summary: Why Hand-Tossed Pizza Stands Out
Hand-tossed pizza is more than a technique—it is a culinary tradition. By mastering dough handling, stretching, and high-heat baking, anyone can create an airy, delicious, well-balanced crust at home. With practice and the right ingredients, your homemade pizza can be just as satisfying as your favorite pizzeria’s.
(If you enjoy experimenting with different flavors on your hand tossed pizza, you’ll love exploring the variety of options that can elevate its taste. From classic choices to bold, creative combinations, the right ingredients can completely transform your slice. To discover some delicious ideas you can try next, check out our in-depth guide on pizza toppings, where we cover everything from veggies and meats to gourmet add-ons.
)
FAQs
1. What is hand-tossed pizza?
It’s a traditional pizza made by stretching dough by hand, producing a thin, airy crust with thicker edges.
2. How is it different from pan pizza?
Hand-tossed is light and chewy; pan pizza is thick, oily, and fluffy.
3. How do I make hand-tossed dough?
Combine flour, water, yeast, sugar, salt, and olive oil, then knead, proof, shape, stretch, top, and bake hot.
4. Why is tossing important?
It naturally stretches dough, preserves air pockets, and improves texture.
5. Best toppings for hand-tossed pizza?
Light toppings like basil, mozzarella, pepperoni, thin veggies, or ricotta.
6. Can beginners do it?
Yes—hand-tossing just needs practice and proper resting time.
7. What’s the ideal baking temperature?
250–300°C (475–550°F) for the perfect crust.