
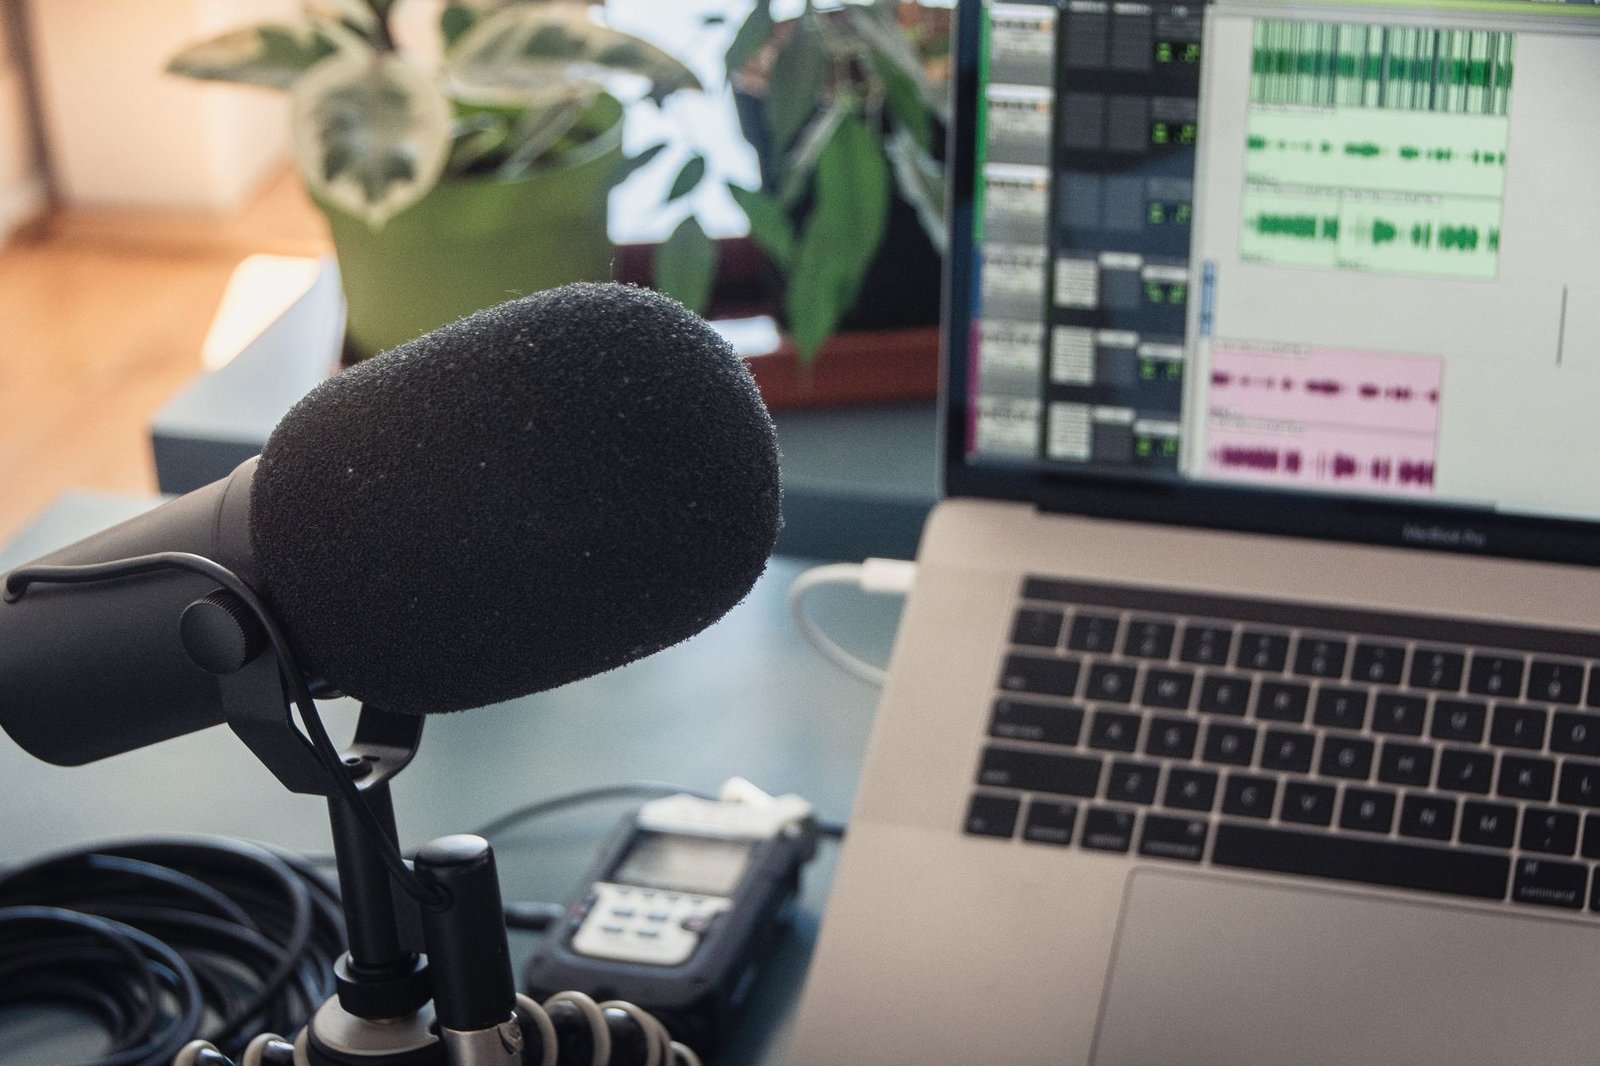
Optimizing your M3 MacBook for pro audio production in 2026 is crucial for seamless recording, mixing, and mastering. With Apple’s M3 chip delivering impressive performance, understanding how to best leverage its capabilities can significantly enhance your workflow. This guide provides a comprehensive overview of the essential steps and settings to ensure your M3 MacBook is a powerhouse for all your audio needs.
We’ll cover everything from hardware configurations and software adjustments to essential accessories and troubleshooting common issues, ensuring you get the most out of your investment.
Key Takeaways
- Maximize M3 MacBook performance for pro audio by focusing on RAM, storage, and cooling.
- Optimize macOS and DAW settings for low latency and efficient CPU usage.
- Select compatible audio interfaces and essential peripherals for a smooth workflow.
- Implement smart file management and backup strategies to protect your projects.
- Regularly update software and monitor system performance for sustained efficiency.
Understanding the M3 Chip’s Advantages for Audio Production
Apple’s M3 chip represents a significant leap forward for portable computing, and its impact on M3 MacBook audio production workflows is profound. At its core, the M3 architecture integrates a high-performance CPU, a powerful GPU, and a specialized Neural Engine onto a single system on a chip (SoC). This tight integration allows for incredibly fast data transfer and processing, crucial for demanding audio tasks like real-time plugin processing, complex track counts, and low-latency monitoring. The efficiency gains mean your M3 MacBook can handle more without breaking a sweat.
A key differentiator is the unified memory architecture (UMA). Unlike traditional systems where CPU and GPU have separate memory pools, M3’s UMA allows all components to access the same data pool efficiently. For audio engineers, this translates to quicker loading of large sample libraries, faster project recall, and smoother multitasking between your Digital Audio Workstation (DAW) and other applications. Imagine loading a massive orchestral template in Logic Pro or Ableton Live 12 in seconds, rather than minutes.
Performance Gains and Scalability
Compared to previous generations, M3-powered MacBooks offer substantial performance improvements. Early benchmarks (as of late 2025) suggest M3 chips outperform M2 and significantly outclass older Intel-based Macs in audio rendering and processing tasks. For instance, rendering a 24-bit/96kHz project with 50+ tracks and numerous CPU-intensive plugins might be 30-40% faster on an M3 Max compared to a comparable M2 Pro. This increased power is particularly beneficial for users pushing the limits of complex, multi-layered productions.
The M3 family offers scalability to match diverse needs:
- M3: Excellent for general-purpose audio work, podcasts, and smaller band recordings.
- M3 Pro: A strong contender for most professional studio applications, handling medium to large projects with ease.
- M3 Max: Designed for the most demanding tasks, including large film score compositions, heavy virtual instrument usage, and advanced mixing/mastering.
Furthermore, the M3 chip’s advanced power management and thermal architecture ensure sustained performance during extended studio sessions. Unlike older laptops that would throttle performance under heavy load, M3 MacBooks maintain optimal speeds, keeping fan noise to a minimum. This reliability is essential when you’re deep in a creative flow and don’t want hardware limitations interrupting the process.
Hardware Optimization: RAM, Storage, and Cooling for M3 MacBook Audio
Selecting the right M3 MacBook configuration is paramount for seamless M3 MacBook audio production. For RAM, 16GB offers a solid starting point for many users, handling moderate session sizes and a handful of plugins. However, for complex projects involving numerous tracks, extensive virtual instruments, and heavy plugin chains, upgrading to 32GB or even 64GB is highly recommended to avoid performance bottlenecks and audio dropouts. This investment ensures your M3 MacBook can keep pace with demanding professional workflows without stuttering.
Storage and Data Management
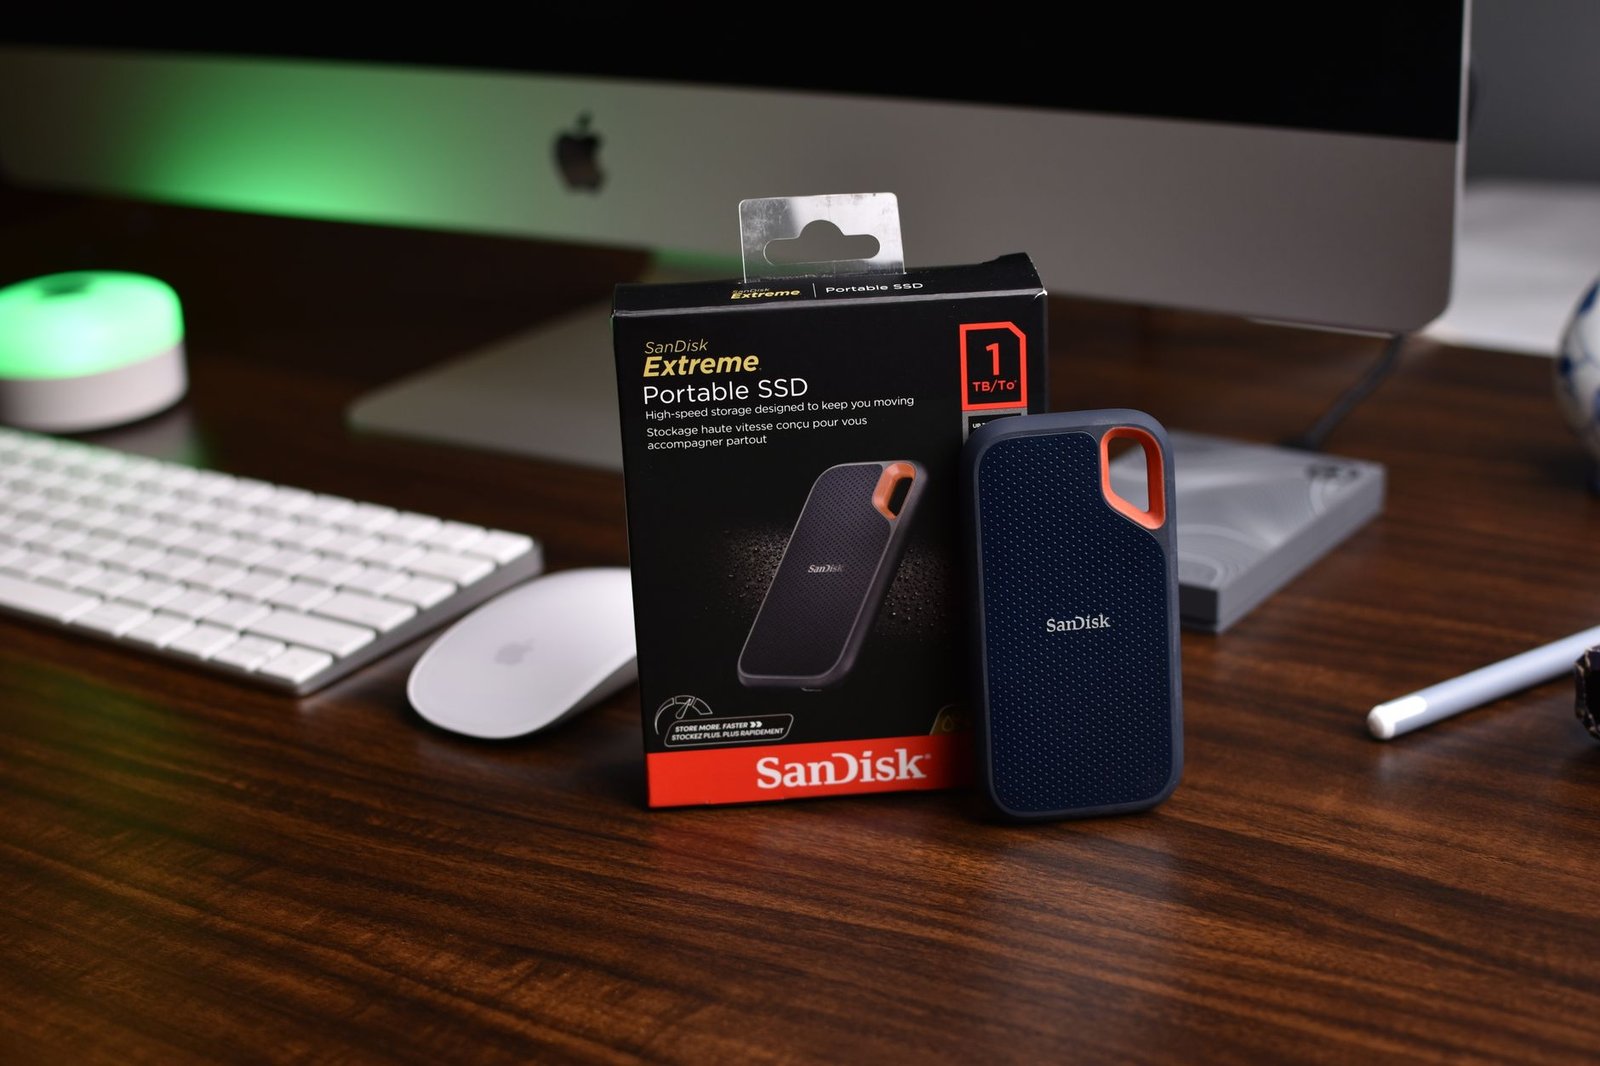
The Solid State Drive (SSD) in your M3 MacBook is your primary workspace. Opting for a larger capacity SSD, ideally 1TB or more, is beneficial as project files, sample libraries, and plugin installations can consume significant space. While the internal SSD boasts incredible speeds, consider an external SSD, like a Samsung T7 Shield or a SanDisk Professional G-DRIVE SSD, for storing large sample libraries or archiving finished projects to free up internal space. Regularly managing disk space by offloading completed projects and cleaning up unused sample packs is crucial for maintaining optimal performance.
| RAM Configuration | Ideal Use Case | Estimated 2026 Price Premium (vs. Base) |
|---|---|---|
| 16GB Unified Memory | Beginner to Intermediate Production, Smaller Sessions | Base |
| 32GB Unified Memory | Professional Production, Complex Sessions, Heavy VI Use | ~$400 |
| 64GB Unified Memory | Orchestral Scoring, Large Sample Libraries, Extreme Plugin Counts | ~$1000 |
Thermal Management and Display
Sustained high CPU loads during rendering or complex mixing can lead to thermal throttling, impacting performance. Ensure your M3 MacBook has adequate ventilation; avoid placing it on soft surfaces like beds or carpets that obstruct airflow. Consider a laptop stand, such as the Twelve South Curve SE, to improve air circulation. For multi-window Digital Audio Workstation (DAW) setups, an external monitor, like the LG UltraFine 4K Display, significantly enhances workflow by providing ample screen real estate for track views, mixer consoles, and plugin interfaces simultaneously.
macOS Optimization for Pro Audio on M3 MacBook
Tailoring macOS to your specific needs is crucial for seamless M3 MacBook audio production. Start by diving into System Settings. Adjust Energy Saver options to prioritize performance over battery life, disabling ‘Put hard disks to sleep’ and setting ‘Slightly dim the display while on battery power’ to ‘Never’. Ensure Background App Refresh is turned off for non-essential applications.
Managing what runs when you boot up can significantly free up resources. Unnecessary startup items compete for your M3 MacBook’s processing power, which is better allocated to your Digital Audio Workstation (DAW). Use Activity Monitor to identify resource-hungry processes and disable or uninstall any non-critical software that launches automatically.
Audio Settings Deep Dive
Precise audio configuration is paramount. The Audio MIDI Setup utility is your control center for buffer sizes and sample rates. Smaller buffer sizes (e.g., 64 or 128 samples) reduce latency, essential for real-time tracking, while larger buffers (e.g., 512 or 1024 samples) decrease CPU load during mixing. Finding the sweet spot depends on your project’s complexity and your specific M3 MacBook’s capabilities.
Keep an eye on background activities using Activity Monitor. Sort by CPU usage to spot unexpected drains. For optimal M3 MacBook audio production, consider these adjustments:
- Disable automatic Time Machine backups while your DAW is running.
- Turn off Spotlight indexing for your audio drive.
- Close all non-essential applications like web browsers and email clients.
- Limit the number of browser tabs open, especially those with streaming content.
- Ensure your DAW and any necessary plugins are updated to the latest compatible versions.
- Prevent automatic macOS updates from interrupting your workflow; schedule them for off-hours.
Stay informed about macOS updates. While Apple often introduces performance improvements, major OS changes can sometimes cause compatibility issues with older DAWs or plugins. Always check your software vendor’s compatibility notes before updating your operating system to ensure your M3 MacBook remains a reliable production environment.
DAW Configuration Best Practices for M3 MacBook Audio Production
Selecting the ideal Digital Audio Workstation (DAW) is crucial for unlocking the M3 MacBook’s potential in M3 MacBook audio production. For macOS users, Logic Pro remains a top contender, offering seamless integration and powerful features optimized for Apple Silicon. Ableton Live and Pro Tools are also excellent choices, each with its strengths for different workflows. Consider your primary use case – live performance, electronic music, or traditional mixing – when making your decision. Regardless of your choice, understanding its specific configuration options will be key to a smooth experience.
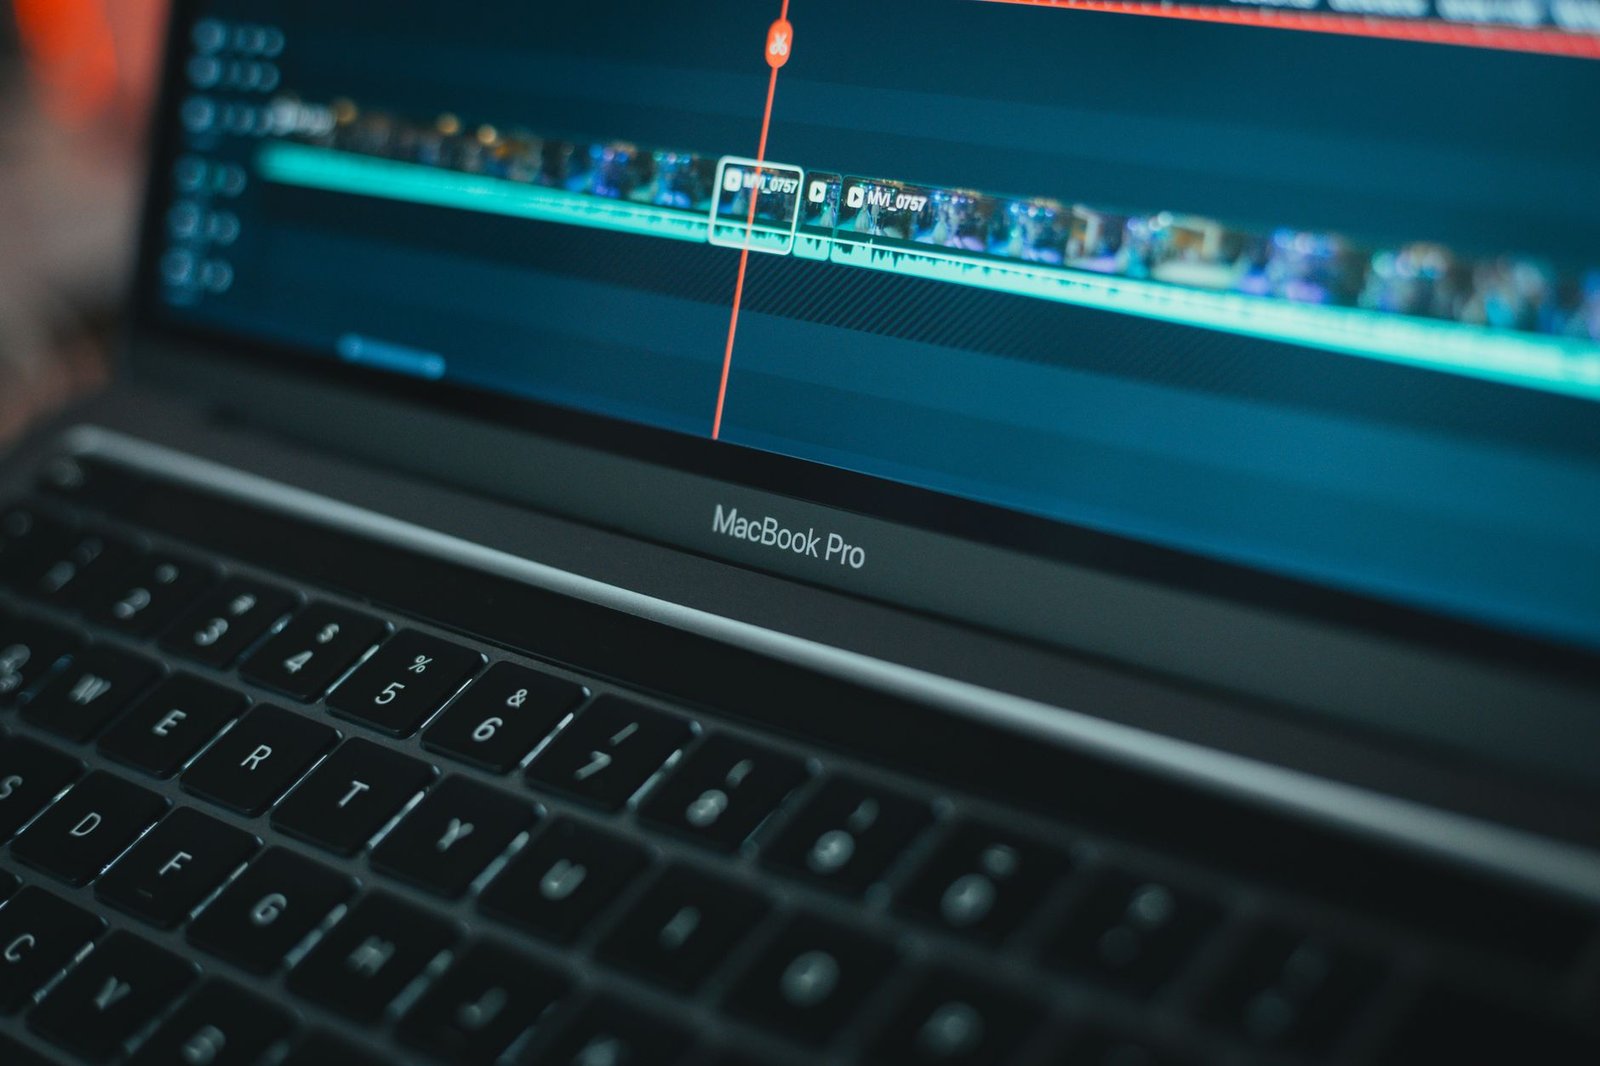
Once your DAW is chosen, optimizing its settings is paramount for both low latency and CPU efficiency. Aim for buffer sizes between 64 and 128 samples during recording to minimize delay, and increase this to 256 or 512 samples during mixing and mastering to reduce CPU strain. Regularly monitor your DAW’s performance meter; an M3 Pro or M3 Max chip can handle substantial workloads, but inefficient plugin usage can still cause performance bottlenecks. Keep your DAW software and macOS updated to benefit from the latest performance enhancements and bug fixes.
Managing Plugins and Audio Devices
The M3 MacBook’s power is best leveraged by judiciously managing plugin instances and virtual instrument load. Heavy multi-gigabyte sample libraries or complex convolution reverbs can quickly tax your system. Consider using track freezing or bouncing in place for virtual instruments that aren’t actively being edited. When configuring your audio device settings within the DAW, ensure you select your preferred audio interface (e.g., an Apollo Twin X or Universal Audio Volt) and match its sample rate and bit depth to your project settings for optimal performance and to avoid glitches.
Expert Tip: Regularly engage the ‘Smart Pro x/Max’ optimization feature found in many modern DAWs. This intelligently allocates processing power, ensuring critical audio threads receive priority, significantly improving real-time performance on M3 MacBooks.
To achieve smoother playback and recording, implement a few simple strategies. Avoid running unnecessary background applications that consume CPU cycles or RAM. If you experience dropouts, try disabling Wi-Fi and Bluetooth during critical recording or playback sessions. For complex sessions, consider creating
Selecting the Right Audio Interface for Your M3 MacBook Setup
Choosing the correct audio interface is pivotal for unlocking the full potential of your M3 MacBook for professional audio production. The interface acts as the bridge between your microphones, instruments, and studio monitors, translating analog signals to digital for your DAW and vice versa. For M3 MacBooks, prioritize interfaces with either USB-C or Thunderbolt connectivity to ensure maximum bandwidth and minimal latency. Thunderbolt offers superior performance, especially for complex sessions with many tracks and plugins, though modern USB-C interfaces also provide excellent results for most M3 MacBook audio production tasks.
Essential Features to Consider
Beyond connectivity, several key features dictate an interface’s suitability. The quality and type of preamps directly impact the clarity and warmth of your recordings. For vocalists and acoustic instruments, look for interfaces with at least two high-quality microphone preamps. The I/O count (Inputs/Outputs) should match your workflow; home studios often suffice with 2-in/2-out or 4-in/4-out, while more complex setups may need more channels.
- Phantom Power (+48V): Essential for condenser microphones. Ensure your interface provides it, especially if you plan to use these mic types.
- MIDI I/O: Crucial if you use hardware synthesizers, controllers, or drum machines.
- Direct Monitoring: Allows you to hear your input signal with zero latency, vital for accurate tracking.
Compatibility with macOS and your specific M3 MacBook model is paramount. Most reputable manufacturers ensure their drivers are optimized for the latest macOS versions. Driver stability is non-negotiable; frequent crashes or high latency can derail your creative process. Check recent user reviews and professional forums for insights into driver performance in 2026. For example, the Focusrite Scarlett 4i4 (4th Gen) offers robust performance via USB-C, while the Universal Audio Apollo Twin X (Thunderbolt) provides premium sound quality and features for more demanding workflows, often priced around $800-$1000.
Budget and Workflow Recommendations
For beginners or those on a tighter budget, interfaces like the PreSonus AudioBox USB 96 (around $100) or the Focusrite Scarlett Solo (4th Gen) (around $130) are excellent starting points. These offer solid preamps and basic I/O for solo artists or small setups. Intermediate users might consider the Motu M4 (around $230) for its superior metering and sound quality. Professional users requiring extensive I/O, pristine conversion, and advanced routing should investigate Thunderbolt interfaces like the Apogee Symphony I/O Mk II or higher-end Universal Audio Apollos, though these represent a significant investment, often starting from $1500 and going up.
Essential Peripherals and Accessories for M3 MacBook Audio Workflows
While the M3 MacBook’s onboard capabilities are impressive for M3 MacBook audio production, a well-curated selection of peripherals elevates your studio experience. High-quality studio monitors, such as the Yamaha HS7s or KRK Rokit 7s, are essential for accurate sound reproduction, allowing you to hear nuances critical for mixing and mastering. Complementing monitors, reliable studio headphones, like the Beyerdynamic DT 770 Pro (80 Ohm) or Audio-Technica ATH-M50x, are indispensable for detailed listening and tracking.
Expand your creative input with MIDI controllers. Devices like the Native Instruments Komplete Kontrol A49 or the Akai MPK Mini Mk3 offer tactile control over virtual instruments and DAWs, streamlining your workflow. Connecting these and other essential gear requires attention to connectivity, especially with the M3 MacBook’s limited port selection.
Connectivity and Input Devices
Microphones are fundamental for recording vocals and instruments. For voiceovers and acoustic instruments, a good condenser microphone like the Rode NT1-A or a versatile dynamic microphone such as the Shure SM58, connected via an audio interface like the Focusrite Scarlett 2i2 (4th Gen), provides excellent results. Ensuring you have the right cables and adapters, like USB-C to XLR, is crucial for seamless integration.
To manage the multitude of devices, a robust USB-C hub or Thunderbolt dock is a necessity. Look for models offering multiple USB-A ports, HDMI output, Ethernet, and SD card readers to create a comprehensive workstation. Brands like CalDigit or Anker provide reliable options that can handle simultaneous data transfer and power delivery.
Ergonomics and Workflow Efficiency
Long M3 MacBook audio production sessions demand an ergonomic setup to prevent fatigue and injury. Consider these accessories:
- Adjustable laptop stand (e.g., Rain Design mStand) for optimal screen height.
- Comfortable, high-quality desk chair with lumbar support.
- External keyboard and mouse (e.g., Logitech MX Keys and MX Master 3S) for improved typing and navigation.
- Monitor arms to position screens at eye level and free up desk space.
- Adequate lighting to reduce eye strain.
- A quiet, acoustically treated space if possible.
Investing in these peripherals not only enhances your creative output but also ensures a comfortable and efficient environment for extended periods of focused work.
Troubleshooting Common M3 MacBook Audio Production Issues
Even with the immense power of an M3 MacBook, audio production can sometimes hit snags. Latency and audio dropouts are frustratingly common. If you’re experiencing delays between playing a note and hearing it, or sudden, jarring silences, it’s often down to buffer settings in your Digital Audio Workstation (DAW). Lowering the buffer size too much for your system’s processing power will cause these issues. Try increasing it incrementally – a common starting point is 128 samples, moving up to 256 or 512 if needed.
Crackling or popping audio, particularly during playback or recording, can indicate a few things. Ensure your audio interface drivers are up-to-date, as outdated drivers are a frequent culprit. Also, check for digital clipping within your DAW; if meters are hitting red, reduce the gain on your input or trim individual tracks. Sometimes, a simple reboot of your M3 MacBook and audio interface can resolve transient glitches.
Managing System Resources
High CPU usage and system overload messages mean your M3 MacBook is struggling to keep up. This is often caused by too many plugins running simultaneously, especially high-demand ones like complex reverbs or virtual instruments. Freeze or flatten tracks in your DAW to offload CPU strain; this renders the track with its effects applied, freeing up processing power. Close unnecessary background applications, and ensure your DAW and macOS are updated to their latest versions for optimal performance and bug fixes. For 2026, many M3 MacBook Pro models with 16GB+ RAM can handle sessions with dozens of high-quality plugins, but even these have limits.
Expert Tip: When troubleshooting, isolate the problem. Test with a new, empty project and add elements one by one to pinpoint the offending plugin or track. Also, consider if your sample rate (e.g., 44.1kHz vs. 48kHz vs. 96kHz) is unnecessarily high for your current project needs.
Software conflicts can also arise, particularly between your DAW, operating system, and third-party plugins. Keep a record of recently installed software or updates. If issues began after an installation, try reverting or uninstalling that software. Always back up your projects before making significant system changes or installing new software. If persistent issues plague your M3 MacBook audio production workflow, it might be time to consult your DAW’s community forums, reach out to plugin developers for support, or contact Apple Support if you suspect a hardware problem with your M3 MacBook.
Future-Proofing Your M3 MacBook for Ongoing Audio Production Demands
As M3 MacBook technology advances, anticipating the needs of future audio production software and hardware is crucial for maintaining peak performance. Consider how upcoming Digital Audio Workstations (DAWs) like Logic Pro X 2.0 or Ableton Live 12 might demand more processing power or RAM. Similarly, think about advancements in audio interfaces or control surfaces that could connect via Thunderbolt 5, requiring robust system architecture.
The rise of cloud-based workflows significantly impacts long-term M3 MacBook usability. Services such as Splice or LANDR offer not just backup solutions but also collaborative platforms. Integrating these tools into your M3 MacBook audio production setup allows for seamless project sharing and version control, ensuring your projects are accessible and manageable regardless of hardware changes.
Considering Hardware Add-ons
While the M3 MacBook’s integrated M3 Ultra chip is exceptionally powerful, the landscape of external hardware warrants consideration. For most audio production tasks, an external GPU (eGPU) offers minimal benefit. Historically, eGPUs like the Blackmagic eGPU Pro were more relevant for graphics-intensive work like video editing, not the CPU and RAM-bound nature of complex audio projects with hundreds of tracks and plugins.
Therefore, focus on direct M3 MacBook upgrades or essential peripherals. Keep your macOS and all your core audio applications updated to the latest stable versions. Regularly check for firmware updates for your audio interface and controllers. Planning your next hardware refresh around the 2027-2028 timeframe, when Apple might introduce M5 or M6 series chips, will ensure you remain ahead of the curve for demanding M3 MacBook audio production workflows.
Frequently Asked Questions
Can an M3 MacBook handle professional audio production effectively?
Yes, M3 MacBooks, especially those with M3 Pro or M3 Max chips and ample RAM, are highly capable of handling professional audio production. Their efficient architecture and unified memory provide excellent performance for demanding DAWs, large plugin counts, and complex project files, often outperforming older Intel-based machines.
What is the optimal RAM configuration for M3 MacBook audio production?
For serious audio production, 16GB of RAM is a good starting point, but 32GB or more is highly recommended. More RAM allows you to run more plugins simultaneously, handle larger sample libraries, and work on more complex projects without experiencing slowdowns or memory-related issues.
Do I need a special audio interface for an M3 MacBook?
You don’t need a *special* M3-specific audio interface, but you do need one that is compatible with current macOS versions and uses appropriate drivers. USB-C and Thunderbolt interfaces are standard. Prioritize interfaces with low latency, stable drivers, and the I/O you require for your specific workflow.
How can I reduce latency when recording with my M3 MacBook?
Latency can be reduced by optimizing your DAW’s buffer size (lower is better, but can increase CPU load), ensuring your audio interface drivers are up-to-date, closing unnecessary background applications on your M3 MacBook, and using the direct monitoring feature on your audio interface whenever possible.
Is the M3 chip’s Neural Engine beneficial for audio production?
While the M3 chip’s Neural Engine is primarily geared towards machine learning tasks, it can indirectly benefit audio production. Certain AI-powered plugins or future audio software might leverage its processing power for tasks like intelligent mixing, mastering assistance, or real-time audio analysis, though direct impact is currently limited for most traditional DAWs.
What’s the best way to manage storage for large audio projects on an M3 MacBook?
Utilize the fast internal SSD for your operating system and current projects, but consider large external SSDs (preferably Thunderbolt or USB 3.2 Gen 2) for storing sample libraries, completed projects, and backups. Regularly archive and offload older projects to external drives or cloud storage to maintain ample free space on your main drive.
Final Thoughts
Optimizing your M3 MacBook for professional audio production is an ongoing process that blends hardware knowledge with software finesse. By carefully configuring macOS, your Digital Audio Workstation (DAW), and selecting the right peripherals, you can transform your portable machine into a formidable studio centerpiece. Remember that consistent maintenance, including software updates and system monitoring, is key to sustained peak performance. Embrace these strategies to ensure your M3 MacBook empowers your creativity and delivers professional-grade results for years to come.
Ready to elevate your sound? Start by implementing the macOS and DAW optimizations outlined in this guide and explore compatible audio interfaces to perfectly match your workflow needs.