
Setting up a home media server with Plex in 2026 is easier than ever and offers unparalleled control over your digital entertainment. A Plex Media Server allows you to organize, manage, and stream your movies, TV shows, music, and photos to virtually any device, anywhere. This guide will take you step-by-step through the process, ensuring you have a robust and efficient media server tailored to your needs.
We’ll cover everything from selecting the right hardware and software to optimizing your server for smooth playback and remote access, making your 2026 media experience seamless and enjoyable.
Key Takeaways
- Choose the right hardware for your Plex server based on your media library size and streaming needs.
- Install and configure Plex Media Server software efficiently for optimal performance.
- Organize your media files effectively for easy browsing and playback.
- Set up remote access to stream your media library from outside your home network.
- Troubleshoot common issues and optimize your Plex server for the best experience.
Understanding Plex: What is a Home Media Server?
A home media server acts as a centralized digital hub for all your movies, TV shows, music, and photos. Instead of scattering files across multiple devices or relying solely on cloud storage, you consolidate them onto a dedicated computer or Network Attached Storage (NAS) device. This server then makes your entire library accessible from virtually any internet-connected device, transforming your collection into a seamless, on-demand entertainment experience. Setting up a home media server plex solution offers unparalleled convenience and control over your digital content.
Plex Media Server software streamlines this process by organizing your media with rich metadata like posters, summaries, and cast information. It scans your designated folders, identifies your media, and fetches relevant details from online databases. The server then streams this content to Plex client apps available on smart TVs, smartphones, tablets, and web browsers, allowing playback wherever you are. Think of it as your personal Netflix, powered by your own digital library.
Key Benefits of a Plex Setup
Utilizing Plex brings several advantages to your media consumption. It centralizes your collection, making it effortlessly searchable and browsable, eliminating the need to hunt for specific files. Access is universal; whether you’re on your living room TV or a hotel room via your laptop, your media is just a few clicks away. Furthermore, Plex supports a vast array of devices, ensuring compatibility across your tech ecosystem.
The core features that make Plex a compelling choice include:
- Automatic media organization and metadata fetching.
- Remote access from outside your home network.
- Cross-platform client support (Roku, Fire TV, Apple TV, iOS, Android, Web, etc.).
- User profiles for personalized experiences.
- Live TV & DVR capabilities (with a compatible tuner and Plex Pass).
- Hardware transcoding for smooth playback on less powerful devices.
ed>
For an enhanced experience, Plex Pass unlocks premium features such as hardware transcoding, mobile sync for offline playback, premium music libraries, and live TV DVR functionality. A basic Plex setup requires a computer or NAS with sufficient storage (e.g., a Synology DS224+ with 10TB HDDs, costing around $700 in 2026), the Plex Media Server software (free), and client devices for playback.
Choosing the Right Hardware for Your Plex Server
Selecting the appropriate hardware is crucial for a seamless home media server plex experience. The most significant factor is the CPU, as it directly impacts your server’s ability to transcode media on the fly. Transcoding is necessary when a client device doesn’t support the original media format or bitrate. A more powerful CPU allows for multiple simultaneous streams and higher quality transcodes without buffering.
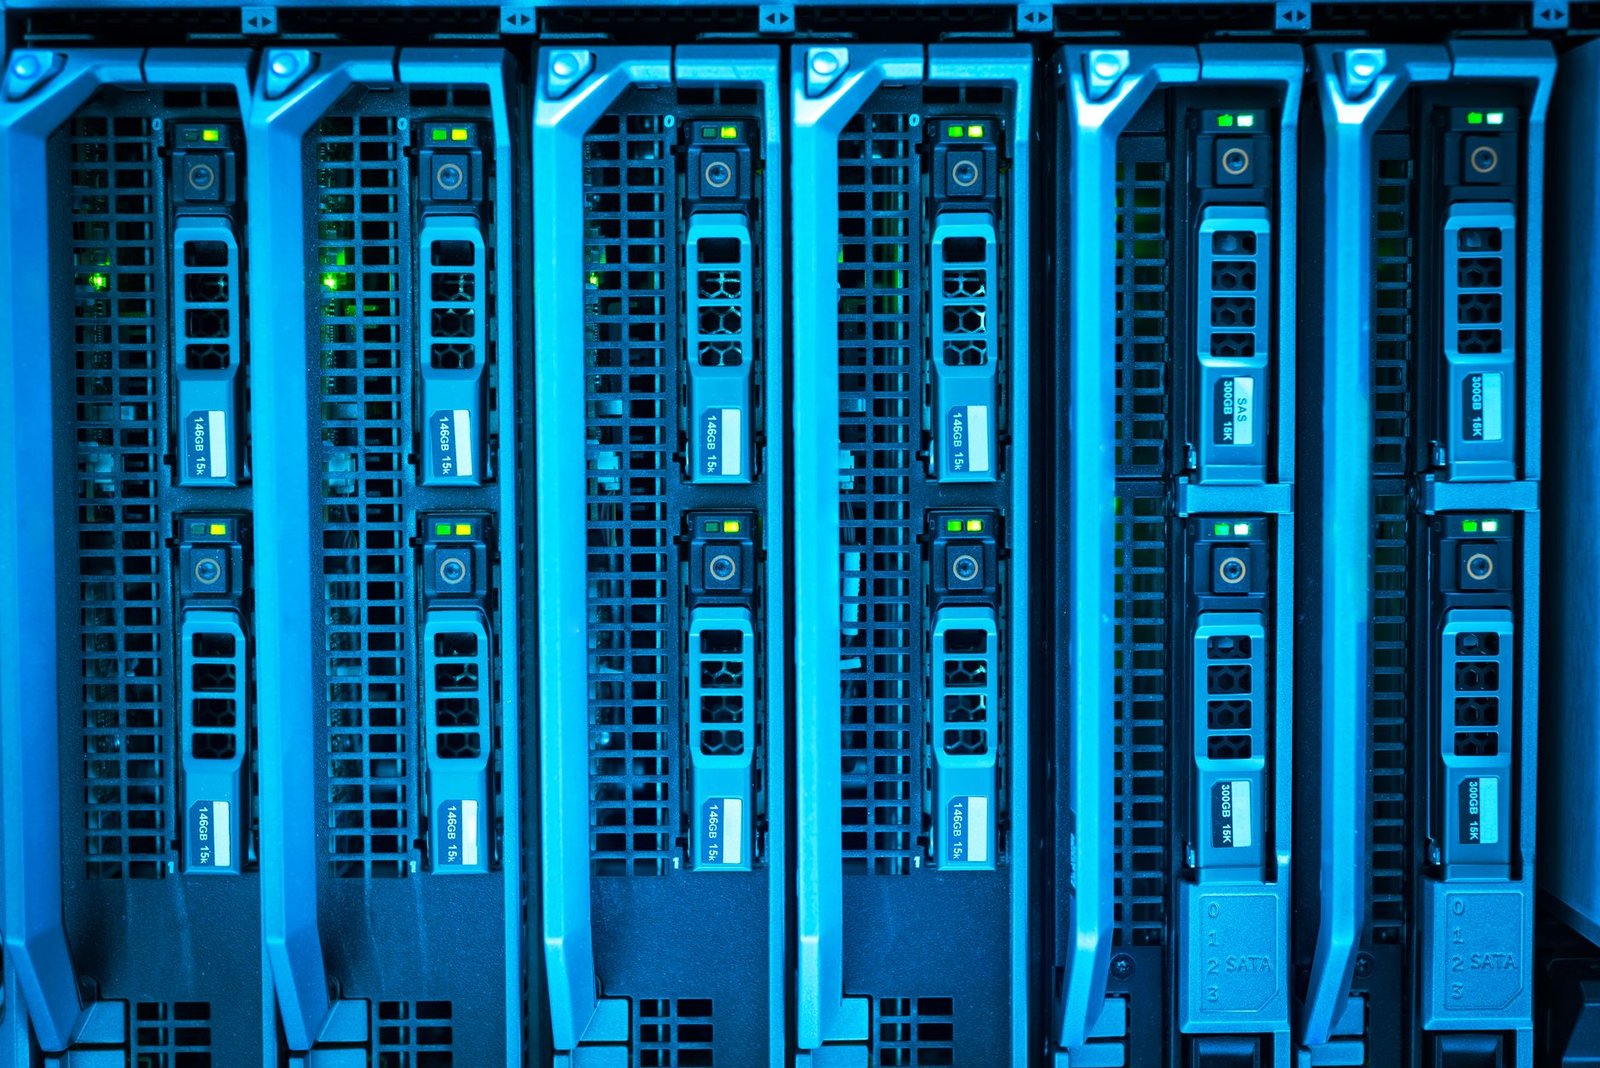
Beyond the CPU, sufficient RAM ensures your Plex server runs smoothly, especially when handling large libraries or multiple users. Aim for at least 8GB of RAM for most setups, though 16GB or more is recommended for extensive libraries and heavy usage. For storage, you have several options: internal HDDs offer direct access speeds, external drives provide flexibility, and Network Attached Storage (NAS) devices offer centralized storage accessible by multiple devices, including your Plex server.
Storage and Network Considerations
When choosing storage, consider the total capacity you’ll need. A 4TB internal HDD might be sufficient for a moderate collection, while larger libraries could necessitate multiple drives or a NAS solution like a Synology DS220+. For network connectivity, a wired Gigabit Ethernet connection is always preferable to Wi-Fi for stability and speed, preventing buffering during playback, especially for high-bitrate 4K content. While Wi-Fi can work, it’s less reliable for demanding streaming scenarios.
For budget-conscious users or those prioritizing low power consumption, single-board computers like the Raspberry Pi 4 (with limitations on transcoding) or mini PCs like Intel NUCs (e.g., NUC11PAHi5, approx. $500 in 2026) offer viable alternatives. These devices are energy-efficient and surprisingly capable for direct play scenarios or lighter transcoding tasks.
| Scenario | CPU Recommendation | RAM | Storage | Network |
|---|---|---|---|---|
| Basic (Few users, direct play) | Intel Core i3 (recent gen) / AMD Ryzen 3 | 8GB | 1-4TB Internal HDD / External USB 3.0 | Gigabit Ethernet (Recommended) |
| Moderate (Multiple transcodes, 1080p) | Intel Core i5 / AMD Ryzen 5 | 16GB | 2-8TB+ Internal HDDs / NAS | Gigabit Ethernet |
| Advanced (Multiple 4K transcodes, many users) | Intel Core i7/i9 / AMD Ryzen 7/9 | 16GB+ | NAS (RAID) / Multiple Internal HDDs | Gigabit Ethernet (10GbE optional) |
| Low Power / Budget | Intel Celeron/Pentium (NUCs) / Raspberry Pi 4 (Direct Play) | 4-8GB | External USB 3.0 / SD Card (RPi) | Gigabit Ethernet (RPi) / Wi-Fi |
Installing and Configuring Plex Media Server
The first step to building your home media server plex is installing the core Plex Media Server software. Visit the official Plex website (plex.tv/media-server-downloads) and select the appropriate installer for your operating system – whether it’s Windows, macOS, Linux, or a NAS device like a Synology DS923+ (around $550 in 2026). Once downloaded, run the installer and follow the on-screen prompts. The installation is generally straightforward, taking only a few minutes.
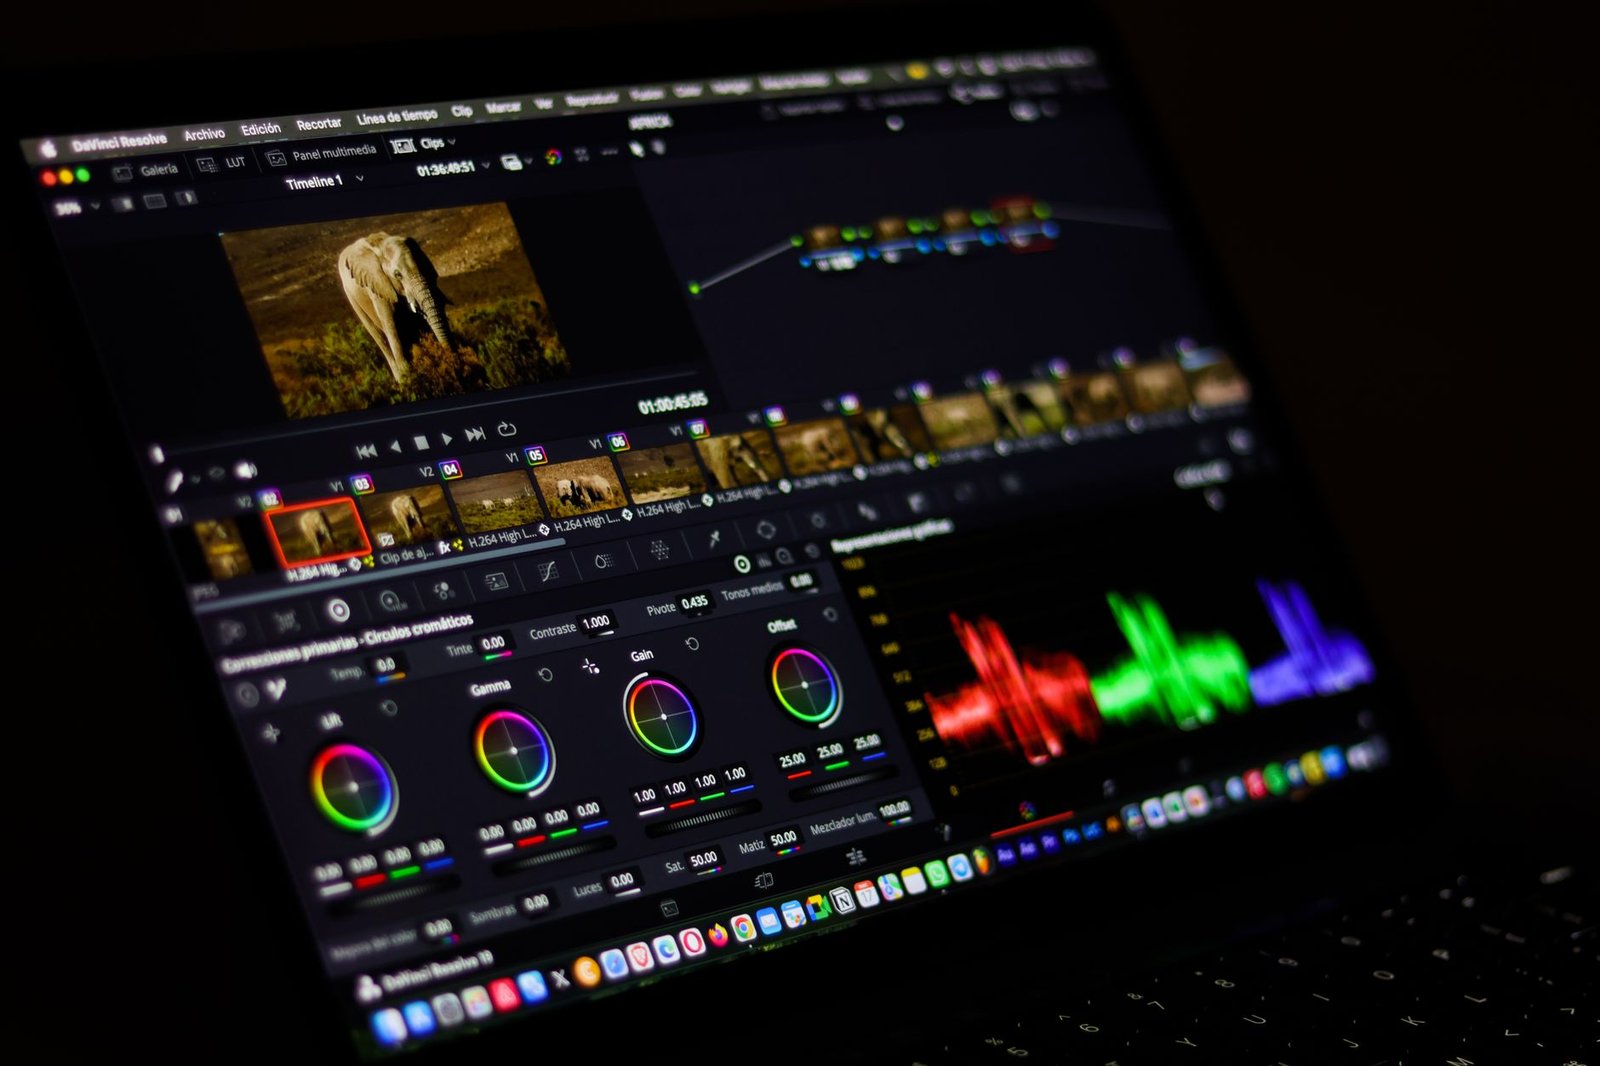
Upon first launch, Plex will guide you through an initial setup wizard. This wizard helps you sign in or create a free Plex account, which is essential for managing your server and accessing features like remote playback. You’ll also give your server a friendly name – something descriptive like “Living Room Plex Server” works well. This wizard is your gateway to a personalized media experience.
Setting Up Your Media Libraries
After the initial setup, you’ll be presented with the Plex dashboard. Here, you can begin creating your media libraries. Plex allows you to categorize content into Movies, TV Shows, Music, Photos, and more. For each library, you’ll point Plex to the specific folders on your storage where your media resides. This is where organization is key; Plex performs best when your files are structured correctly.
To ensure Plex can accurately identify and categorize your content, follow these best practices for folder structure and naming conventions:
- Movies: Create a main “Movies” folder, then place each movie file inside, named like: `Movie Title (Year).ext` (e.g., `The Matrix (1999).mkv`).
- TV Shows: Create a main “TV Shows” folder, then a subfolder for each show, and another subfolder for each season: `Show Name/Season XX/Show Name – sXXeYY – Episode Title.ext` (e.g., `Breaking Bad/Season 01/Breaking Bad – s01e01 – Pilot.mp4`).
- Music: Organize by `Artist Name/Album Name/Track Number – Track Title.ext`.
- Photos: Can be organized by date or event.
Within the Plex server settings (accessible via the wrench icon on the dashboard), you can fine-tune various options. Explore language settings for metadata, configure library update schedules, and importantly, set up remote access if you plan to stream your media outside your home network. For 2026, ensuring robust remote access is crucial for a seamless experience, especially with increased mobile and multi-device usage.
Optimizing Your Plex Server Performance
To ensure a smooth experience with your home media server plex, performance optimization is key. The most critical factor is understanding transcoding. Transcoding is Plex’s process of converting media files on-the-fly to a format compatible with your playback device and network bandwidth. If your server can’t transcode efficiently, you’ll face buffering, lower video quality, or playback failures, especially when streaming remotely or to less powerful devices like older smart TVs or mobile phones.
Leveraging hardware transcoding can dramatically reduce CPU load and improve the number of simultaneous streams your server can handle. This feature requires a Plex Pass subscription and is dependent on your server’s CPU having integrated graphics (like Intel Quick Sync Video found in most 10th Gen Intel Core processors and newer) or a compatible discrete GPU. For example, an Intel Core i5-12400 with its integrated UHD Graphics 730 can handle several 1080p transcodes simultaneously, a significant upgrade over CPU-only transcoding for a similar processor without integrated graphics.
Network and Storage Considerations
A robust network is as vital as server hardware. Ensure your server is connected via Gigabit Ethernet directly to your router, not Wi-Fi, for maximum stability. If streaming 4K content remotely, aim for an upload speed of at least 20 Mbps per stream. For local network streaming, ensure your Wi-Fi is 5GHz band and devices are within good range to minimize interference.
Reducing CPU usage also involves managing your media library wisely. Keep your Plex Media Server software updated to the latest version, as updates often include performance enhancements and bug fixes. Regularly clean the Plex cache and optimize the database through the Plex web interface. This prevents the database from becoming bloated and slowing down library scans and metadata retrieval.
Expert Tip: For optimal library scanning, schedule it during off-peak hours (e.g., overnight). Also, consider disabling video preview thumbnail generation if CPU resources are consistently strained; this process is resource-intensive.
Finally, managing your media storage can impact performance. Storing your media on fast SSDs or NVMe drives, especially if your library is large or you frequently add new content, can speed up file access times compared to traditional HDDs. While HDDs are cost-effective for bulk storage, placing frequently accessed metadata and perhaps even the Plex database on an SSD can yield noticeable improvements in interface responsiveness.
Setting Up Remote Access for Your Plex Server
Enabling remote access allows you to stream your media library from anywhere in the world, transforming your home media server plex into a truly portable entertainment hub. However, it’s important to understand the inherent limitations. While Plex makes the process relatively straightforward, your home’s internet upload speed is the primary bottleneck. A faster upload speed means smoother streaming for your remote viewers, especially for high-bitrate 4K content. For instance, streaming a 1080p Blu-ray rip typically requires at least 5-10 Mbps upload, while 4K HDR content can demand upwards of 20-30 Mbps upload.
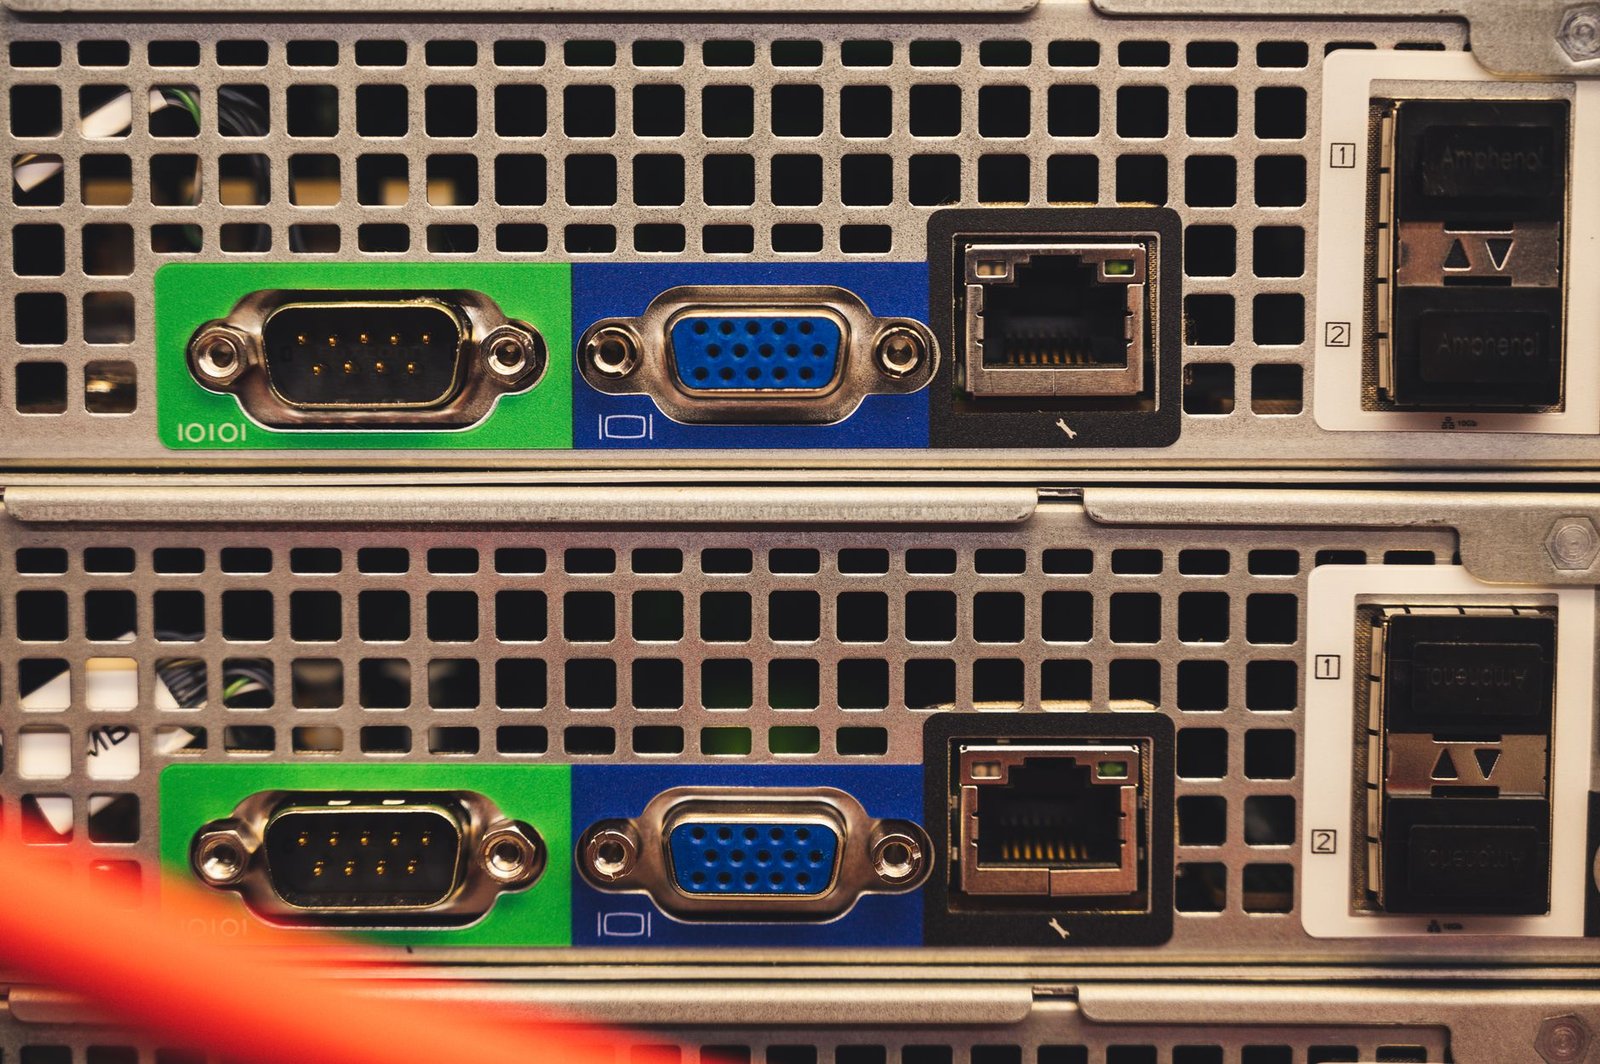
To enable remote access, navigate to your Plex Web App settings. Under the General tab, you’ll find the ‘Remote Access’ section. Simply check the box to enable it. Plex will attempt to automatically configure your network, but this often requires manual intervention through port forwarding on your router. This involves directing incoming traffic on a specific port (Plex defaults to 32400, but you can choose a different external port for added security) to your Plex server’s local IP address. Consult your router’s manual (e.g., a Netgear Nighthawk RAX50 or TP-Link Archer AX11000) for detailed instructions on how to set up this port forwarding rule.
Troubleshooting and Security
If remote access isn’t working, the most common culprit is incorrect port forwarding. Double-check that the correct external port is open on your firewall and that it’s forwarded to the static local IP address of your Plex server. Ensure no other application on your network is using the same external port. Sometimes, your ISP might block certain ports, or your router might have a built-in firewall preventing access; a quick call to your ISP or a router firmware update might be necessary. For security, consider changing the default external port and ensuring your Plex server software is always up-to-date. Enabling two-factor authentication on your Plex account adds another crucial layer of protection against unauthorized access to your media.
Remember, a stable and reasonably fast upload connection is paramount for a good remote streaming experience. Running an internet speed test from a device connected to your network can help diagnose bottlenecks. If your upload speeds are consistently below the recommended thresholds, you may need to investigate upgrading your internet plan with your provider or optimizing your network to prioritize Plex traffic.
Organizing Your Media Library Effectively
A well-organized media library is the backbone of a smooth Plex experience. It ensures your home media server plex setup correctly identifies and displays your content, making browsing and playback seamless. Investing time upfront in proper organization saves countless hours later and prevents frustration when trying to find that specific movie or episode.
File Naming and Metadata Magic
Consistent and correct file naming is paramount. Plex relies on specific naming conventions to parse your files accurately. While you can manually rename files, using automated tools is far more efficient for larger libraries. Consider options like FileBot (paid, around $6 per year subscription) or TinyMediaManager (free, open-source) to standardize your naming structure based on official movie and TV show databases.
These tools don’t just rename files; they also fetch crucial metadata. Plex uses metadata agents to pull information like titles, synopses, cast details, and release dates. For optimal results, ensure your desired agents are enabled and prioritized within Plex’s settings. Sometimes, manually editing incorrect metadata or adding missing details is necessary, but good naming often minimizes this need.
Structuring Your Digital Assets
Beyond individual files, structuring your library by media type is essential for navigation and performance. Create top-level folders for distinct categories:
- Movies
- TV Shows
- Music
- Photos
- Home Videos
- Other Videos (e.g., personal recordings)
Within these folders, Plex can automatically organize content based on its metadata. For a richer experience, Plex supports custom artwork (posters, backgrounds) and the creation of collections. Collections allow you to group related items, such as a movie franchise (e.g., “The Matrix Trilogy”) or a specific actor’s filmography, making discovery even easier.
Client Devices and Streaming with Plex
Once your home media server plex is humming along, the next step is accessing your library from your favorite devices. Plex offers a robust ecosystem of client applications designed to bring your media to virtually any screen. From smart TVs by Samsung and LG to popular streaming sticks like the Amazon Fire TV Stick 4K Max and Roku Ultra, Plex has you covered. Don’t forget mobile devices with the Plex app for iOS and Android, or simply use the web interface via your browser on any computer. Connecting is straightforward: install the app, sign in with your Plex account, and your server should appear automatically.
Optimizing playback on your client devices is crucial for a smooth experience, especially when streaming high-bitrate 4K HDR content. Most Plex apps allow you to adjust video quality settings. For reliable streaming, especially over Wi-Fi, set the ‘Online Playback Quality’ to ‘Maximum’ or manually choose a high setting that your network can support. This ensures the client requests the best possible stream from your server. Conversely, if you’re experiencing buffering on a less-than-ideal connection, reducing this setting can significantly improve stability.
Troubleshooting Common Playback Issues
Buffering is the most common culprit for playback woes. It often indicates your network can’t keep up with the stream’s bitrate. Ensure your server and client are on a strong network connection, ideally wired Ethernet for the server. If you are using Wi-Fi, try moving your router closer or upgrading to a Wi-Fi 6 or 6E mesh system. Format errors, where a video won’t play at all, usually mean your client device doesn’t natively support the audio or video codec. In such cases, Plex’s server-side transcoding kicks in, but if the server hardware isn’t powerful enough (e.g., an older Intel Celeron), it can lead to stuttering or complete failure. Consider upgrading your server CPU or using the Plex Dash app to monitor transcoding activity in real-time.
Expert Tip: For the absolute best home theater experience, consider using Plex HTPC. It’s a dedicated application for Windows and macOS designed for living room PCs connected to a TV. It offers advanced display and audio settings, including support for passthrough of formats like Dolby Atmos and DTS:X, providing a cinema-like feel directly from your home media server.
Experimenting with these settings and understanding your network’s capabilities will ensure you get the most out of your Plex setup across all your devices. Whether you’re on a 75-inch OLED TV or a smartphone, seamless playback is the goal.
Maintaining Your Home Media Server Plex Setup
Your home media server Plex setup is a dynamic system that, much like any piece of technology, requires ongoing attention to ensure optimal performance and longevity. Proactive maintenance is key to preventing issues before they arise and ensuring a smooth streaming experience for all your devices.
Regularly updating the Plex Media Server software is paramount. Plex frequently releases updates that include new features, bug fixes, and security patches. Neglecting updates can lead to compatibility issues with clients or, worse, security vulnerabilities. Visit the Plex Downloads page at least monthly to check for new versions and install them promptly.
Essential Maintenance Tasks
To keep your server running efficiently, focus on these key areas:
- Software Updates: As mentioned, Plex Media Server updates are critical. Always download the latest stable release for your operating system.
- Storage Monitoring: Keep a close eye on your storage drives. While a 10TB drive might seem ample today, your 4K library will grow. Tools like CrystalDiskInfo (Windows) or `df -h` (Linux) can help monitor drive health and free space. Aim to keep at least 15-20% free space on all media drives to prevent performance degradation and potential data corruption.
- Performance Checks: Observe CPU and RAM usage during peak streaming times. If your server (e.g., an Intel NUC i7 12th Gen) frequently maxes out its resources, it might be time to optimize your library or consider hardware upgrades.
- Database Backups: The Plex database stores your metadata, watch history, and settings. A corrupted database can be a nightmare. Schedule regular backups of the Plex data directory. For Windows, this is typically located at
%LOCALAPPDATA%\Plex Media Server\Plug-in Support\Databases. For Linux, it’s often in/var/lib/plexmediaserver/Library/Application Support/Plex Media Server/Plug-in Support/Databases. Automate this backup process using scripts or third-party tools.
Furthermore, establishing a robust backup strategy for your media files is non-negotiable. Consider a multi-tiered approach: local backups to an external drive (e.g., a 16TB WD_BLACK D10 Game Drive) and cloud backup solutions like Backblaze or Wasabi for offsite protection. While Plex itself is generally stable, hardware failures or accidental deletions can occur. Ensure your media library is safe.
Should you encounter persistent issues, consult the official Plex forums for troubleshooting guides and community support. Common errors often relate to network configuration, file permissions, or unsupported media formats. If your hardware consistently struggles to transcode or serve multiple streams, despite optimization, it may be time to investigate upgrades. This could range from adding more RAM (e.g., upgrading to 32GB DDR4) to replacing an older CPU with a more powerful one, potentially looking at processors with integrated graphics supporting hardware transcoding, like Intel’s 13th Gen Core series.
Frequently Asked Questions
What are the minimum hardware requirements for a Plex Media Server?
The minimum requirements depend heavily on your usage. For basic local streaming of direct-play content, a modest computer with a dual-core processor and 2GB RAM might suffice. However, if you plan on transcoding multiple streams simultaneously, especially high-definition content, you’ll need a more powerful CPU (like an Intel Core i5 or i7 with Quick Sync Video support for hardware transcoding) and at least 4-8GB of RAM. Adequate storage space is also crucial for your media library.
Do I need Plex Pass to use Plex Media Server?
No, the core functionality of Plex Media Server is free. You can download, install, and use it to organize and stream your media to devices on your local network without any cost. Plex Pass is a premium subscription service that unlocks additional features like hardware transcoding, mobile sync, DVR capabilities, live TV tuning, and more advanced parental controls. Many users find Plex Pass enhances the experience, but it’s not mandatory for basic use.
How do I ensure my Plex server can stream outside my home network?
To enable remote access, you need to ensure your Plex Media Server can be reached from the internet. This typically involves enabling ‘Remote Access’ within the Plex server settings and configuring port forwarding on your router. You’ll need to forward the Plex default port (TCP 32400) from your router’s public IP address to the internal IP address of the computer running your Plex server. Ensure your ISP doesn’t block this port and that your router’s firewall is configured correctly.
What is transcoding and why is it important for Plex?
Transcoding is the process by which Plex Media Server converts a media file from its original format into a format that the client device can play. This is crucial because not all devices support all video or audio codecs. Transcoding ensures compatibility, but it is CPU-intensive. Hardware transcoding, available with Plex Pass, utilizes specialized hardware (like Intel Quick Sync) to perform this conversion much more efficiently, reducing CPU load and enabling smoother playback on less powerful servers or when multiple streams are active.
How can I add more storage to my Plex server?
There are several ways to expand your storage. You can add internal Hard Disk Drives (HDDs) or Solid State Drives (SSDs) to your server computer if it has available bays. Alternatively, you can use external USB drives. For a more robust and scalable solution, consider using a Network Attached Storage (NAS) device. Many NAS devices are specifically designed for media serving and can be easily integrated with Plex Media Server, offering centralized storage and often RAID capabilities for data redundancy.
What’s the best way to organize my movie and TV show files for Plex?
Plex works best with a clear, hierarchical folder structure and specific naming conventions. For movies, a common structure is `Movies/Movie Title (Year)/Movie Title (Year).ext`. For TV shows, it’s typically `TV Shows/Show Name/Season XX/Show Name – SXXEYY – Episode Title.ext`. Using tools like FileBot, TinyMediaManager, or the Plex naming convention helper can automate this process, ensuring Plex correctly identifies your media and downloads accurate metadata, artwork, and descriptions.
Final Thoughts
By following this guide, you’re well on your way to establishing a powerful and personalized home media server with Plex in 2026. You’ve learned about the essential hardware, software configuration, optimization techniques, and how to ensure smooth streaming both locally and remotely. A properly set up Plex server transforms how you interact with your digital content, offering convenience and a premium viewing experience accessible from any of your favorite devices.
Ready to take control of your media? Start by assessing your current media library and choosing the hardware that best fits your budget and needs. Then, dive into the installation and configuration process. Your ultimate home entertainment hub awaits!